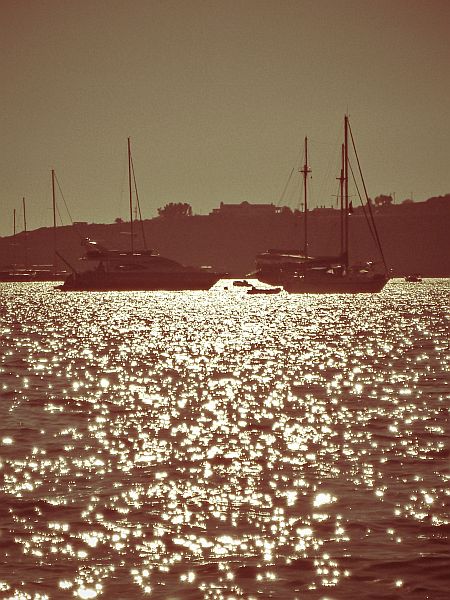
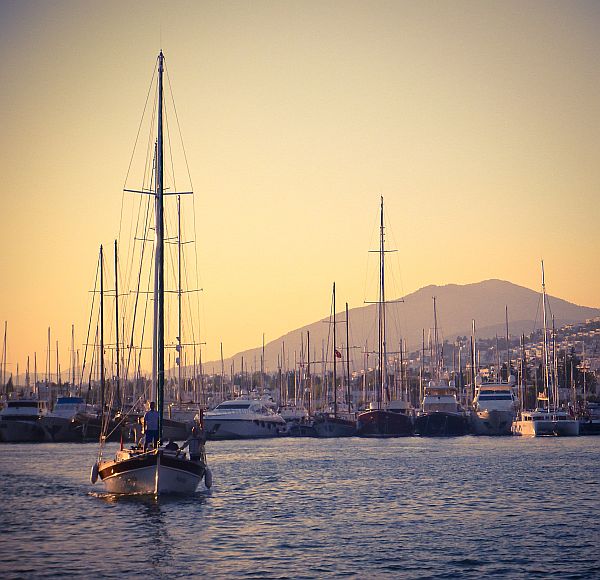
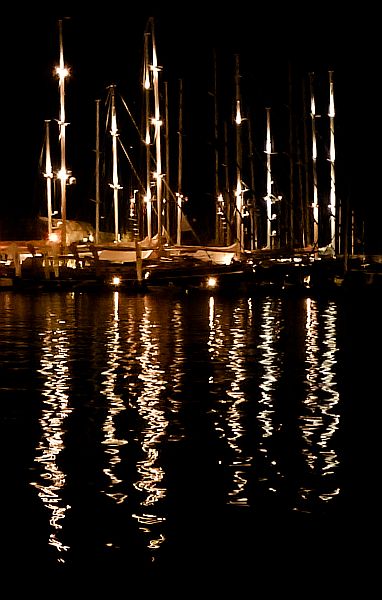
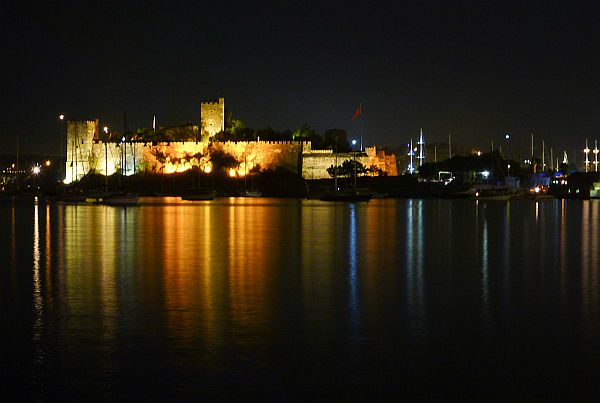
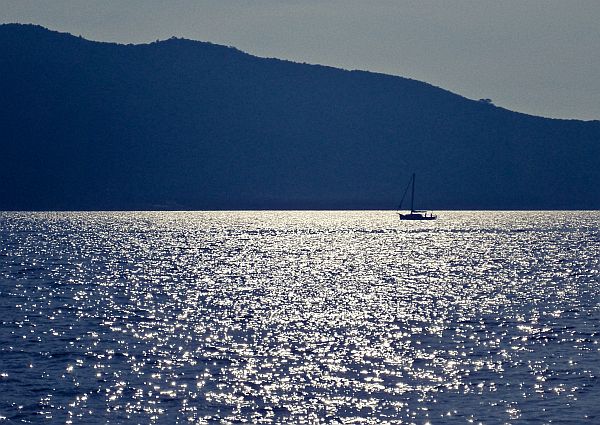
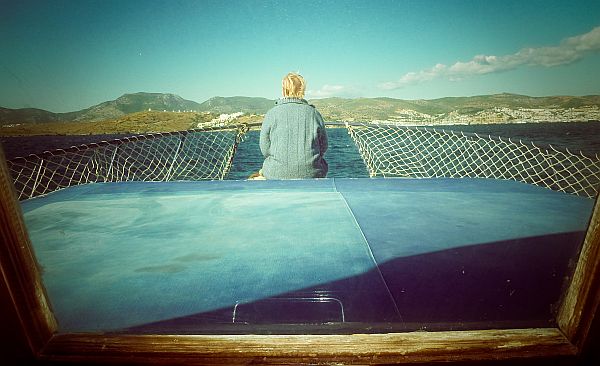
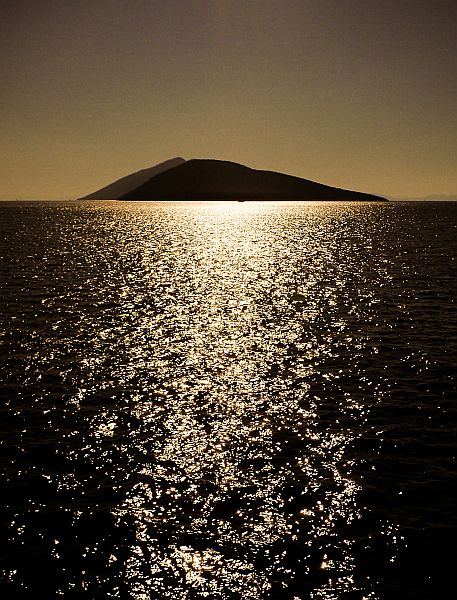
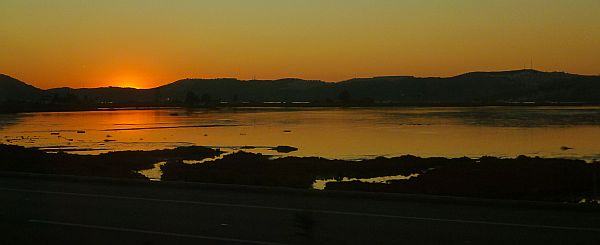
A few photos from my recent holiday to Bodrum, on the South-West coast of Turkey.
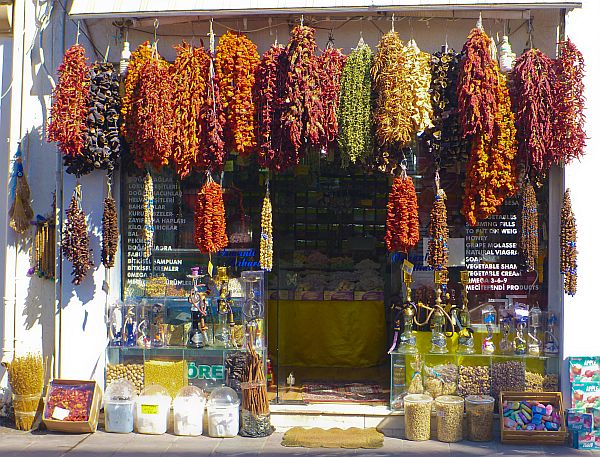
- An Aladdin’s cave of spices, dried produce, and plenty more inside.

Latest photos from Claude Schneider
Photo-Stitch
A few photos from my recent holiday to Bodrum, on the South-West coast of Turkey.


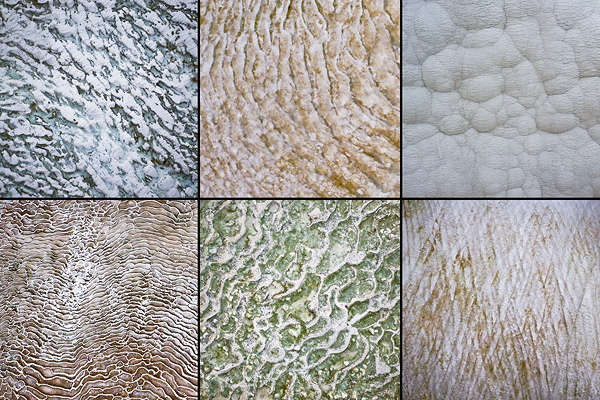
Pamukkale is a fascinating natural wonder in South-Western Turkey. The sides of a large hill are covered in Travertine Terraces – calcium carbonate deposits left by thermal spring waters. I visited on an overcast day, so the photos I got don’t do the site justice. You’ll find plenty of photos online of snow-white slopes against bright blue skies…

The drizzle didn’t dampen my enjoyment of the thermal waters in Cleopatra’s Pool, replete with sunken ruins from Hierapolis.

I travelled to Sweden again this year for more Acrobatic Rock’n’Roll training with other members of the Cambridge University Rock’n’Roll Team. This team, we spent a day in Stockholm at the beginning, and a day in Vasteras at the end. Unusually for me, I didn’t take that many scenic/touristic photos, perhaps because I was with a group of friends. Or possibly because it was quite grey and I wasn’t overly impressed until we wandered around the park on Djurgarden and the sun came out…


Stockholm, Old Town

Panorama of Stockholm

View from Djurgarden

Wooden window shutters in Vasteras old town
The first step in creating a photostitch is to take the photographs. For this photostitch (The River Cam in the Mist at Magic Hour), I wanted to create as large an image as possible, so set my camera to maximum zoom – this would lead to more photographs being required to cover the subject matter. I then fixed the camera’s shutter speed, aperture, focus, and white balance, to ensure that all photos in the series look as similar as possible in colour and exposure. A row of photos was taken along the top of a mental grid, and then the next row down etc. until the whole scene had been covered. Photostitching requires overlap between each column and row of photos, so that the images can be lined up accurately.
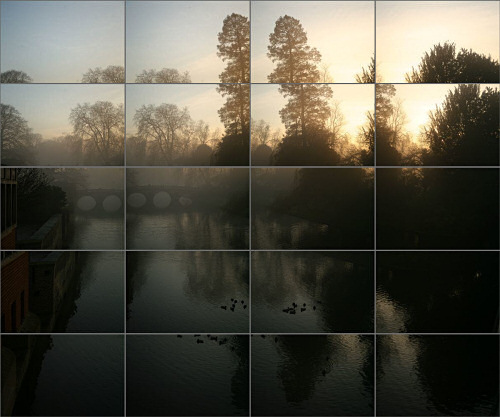
The next step uses software to calculate how the images overlap, and to find control points that appear in more than one photograph. Depending on the output options, the resulting image(s) may still have very visible seams where the source photos overlap – this is most often due to vignetting, where the corners of a photograph are dimmer than the centre. While it is sometimes possible to get a near-perfect image straight from the software, I tend to choose to output a multi-layered Photoshop file, and then carefully blend between the layers so that no seams are visible; this is what can take many hours, even after creating control points and working in the photostitch software.
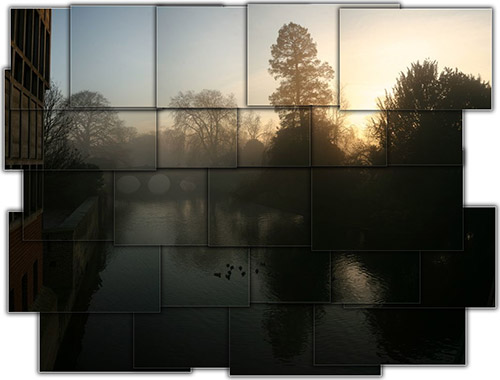
I think you’ll find that the results are well worth it though. 23 photos and 5+ hours later, here’s the 81 megapixel image.
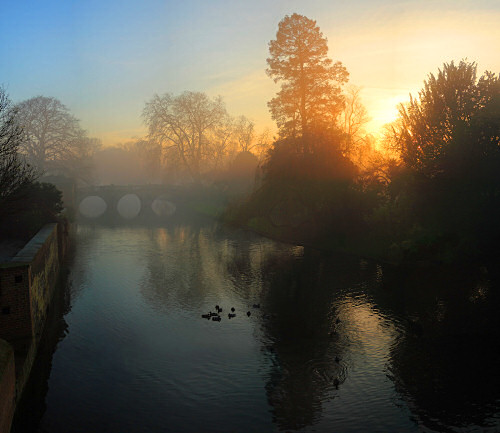
Move your mouse over the image to see a crop of the full-resolution image.
Seeing that it was still foggy at midday when I headed out for some Christmas Shopping, I took my camera with the intention of getting some photos of Cambridge in the mist. Sure enough, as I reached the peak of Garret Hostel Lane bridge, the following pictoresque sight awaited me; along with several other people taking photos.
This first photo is my favourite – it’s a composite of 23 photos, seamlessly stitched together (taking over 5 hours) to create an 81 megapixel image.

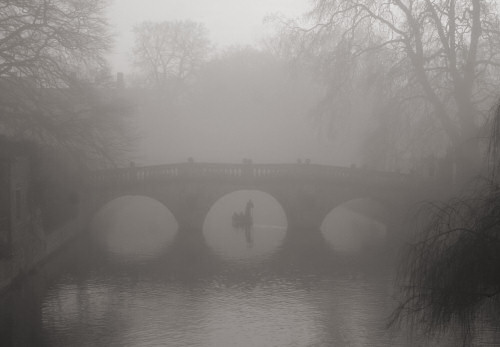
Punting under Clare Bridge in the mist
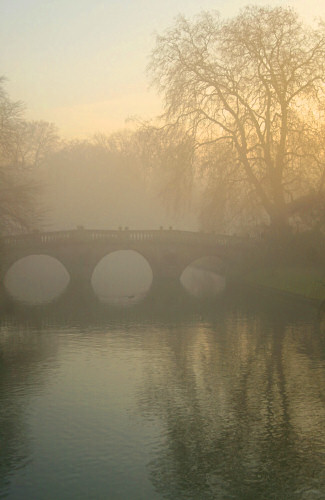
Clare Bridge at dusk
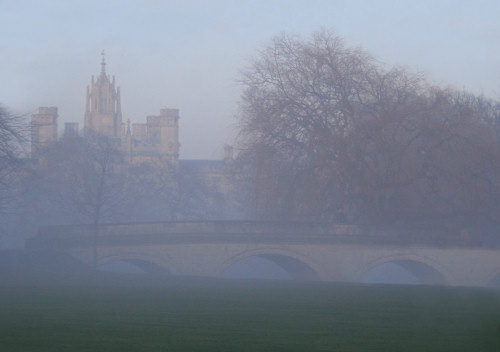
Looking towards St. John’s from Garret Hostel Lane
I spent a few hours over Easter putting together some of the photo stitches that I took in Costa Rica. There are two stubborn ones which I’m not having much joy with (very wide angle both horizontally and vertically, so the resulting photo looks very fish-eyed). Here are five of the panoramas which came out great.
You can scroll around the panorama in the Java Applet linked below. You can drag the view around with your mouse, or use your keyboard’s arrow keys. Pressing – or + lets you zoom out or in, although the images are displayed at 1:1 resolution already.
Arenal Volcano: Panoramic view of the very-active Arenal Volcano, taken from the Lost Iguana hotel, to the east of the volcano. Lava flows can be seen on the left hand side of the volcano. 28 megapixels.
Irazu Volcano: Panoramic view of the two craters at the top of Irazu Volcano, the highest active (but dormant) volcano in Costa Rica, at 3,432m above sea level. The main crater on the left contains a green crater lake. 78 megapixels.
Poas Volcano: Panoramic view of the crater lake in Poas Volcano (2,708m). The lake normally appears bright turquoise when conditions are clear (rarely). You can see yellow puffs of sulphur to the right of the lake. 23 megapixels.
Sunset from Finca Rosa Blanca, Santa Barbara: Viewed from a coffee plantation in the hills. 72 megapixels.
Rainforest of La Paz Waterfall Gardens: Panoramic view of the rainforest around the La Paz Waterfall Gardens, near Vara Blanca. 17 megapixels.
Well, it took 2 weeks to get round to finishing off the photo-stitch – it was a tough one, took several attempts, lots of manual tweaking, and it’s still not quite perfect, but good enough! There were 36 photos, and the final cropped panorama weighs in at 56 megapixels.
You can scroll around the panorama in the Java Applet linked below. You can drag the view around with your mouse, or use your keyboard’s arrow keys. Pressing – or + lets you zoom out or in, although the images are displayed at 1:1 resolution already.
Cambridge in the Snow: Panoramic view from Castle Mound. Visible in the panorama are the University Library, King’s Chapel, St. John’s Chapel Tower, and lots of snow!
I took a panoramic view of a stunning sunset back in November 2005, viewed from Castle Mound in Cambridge. Lord knows why I waited a year to stitch together the photos. I only stiched about 340 degrees of the view, so don’t have a full wrap-around, but there were 40 photos, resulting in an output file weighing in at a hefty 108 megapixels. I’ve cropped it down to 70 megapixels, as much of the dark ground isn’t interesting. What prompted me to take the full wrap-around is that the pink clouds are visible across the whole sky, not just over the setting sun. Friends have asked how I get such colours – I just capture what nature does best – amaze us with its wondrous beauty.
You can scroll around the panorama in the Java Applet linked below. You can drag the view around with your mouse, or use your keyboard’s arrow keys. Pressing – or + lets you zoom out or in, although the images are displayed at 1:1 resolution already.
Cambridge Sunset: Panoramic view from Castle Mound. Visible in the panorama are the University Library, King’s Chapel, St. John’s Chapel Tower, and the moon.
I also took a second set of photos of the same sunset. Much of the sky on the left was too dark to keep in the panorama, so I cropped this one down to 31 megapixels:

I travelled around Italy in September 2006, and took lots more photos, including a few sets of photos which stitch together to form panoramic views. I took two 360 degree panoramic views, in Venice and Sienna, which are shown in Java Applets below. You can drag the view around with your mouse, or use your keyboard’s arrow keys. Pressing – or + lets you zoom out or in, although the images are displayed at 1:1 resolution already.
Venice: Panoramic view from the Campanile di San Marco, about 100m above St. Mark’s Square. Visible in the panorama are St. Mark’s Square (with its multitudinous pigeons), the Doge’s Palace, and St. Mark’s Basilica.
![]()
Click to view panorama
Siena: Panoramic view from the Campanile, about 100m above the Piazza del Campo
![]()
Click to view panorama
Milan’s Vittorio Emanuele Arcade
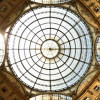
Click to view panorama
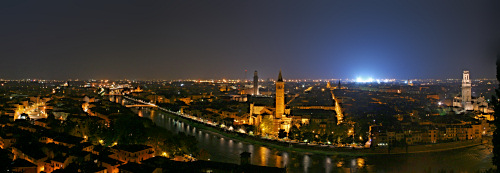
Verona at night
Positano

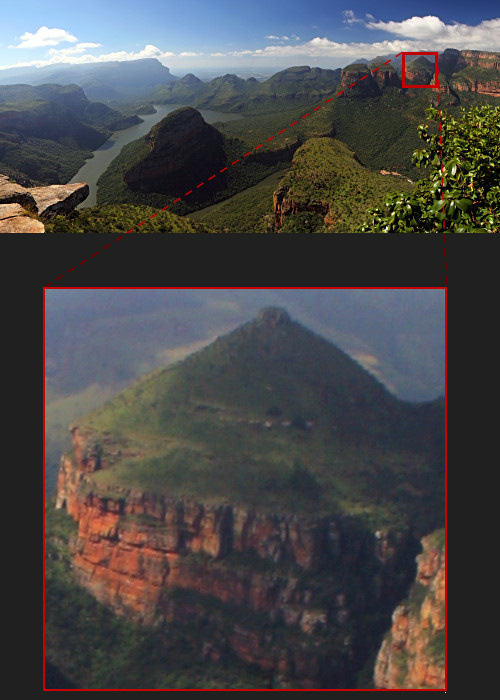
During my trip to South Africa, I took several sets of photos at various stunning vistas, which I would stitch together back home. Well, now that all the other photos have been tweaked and added to CantabPhotos, I’ve started stitching some of them together (I use the open source stitching software Hugin, along with Autopano). At Blyde River Canyon, I had taken 19 photos at 8 megapixels, and once I’d cropped the resulting stitch down to the region I wanted to keep, I ended up with a 26 megapixel image, with 19 Photoshop layers. I very painstakingly checked the blending/overlap of each layer to ensure no seams were visible at all (it took me about 5 hours!). I ordered a 30″ x 14″ print of the panorama (printed and delivered next day by Photobox), and it looks absolutely stunning.
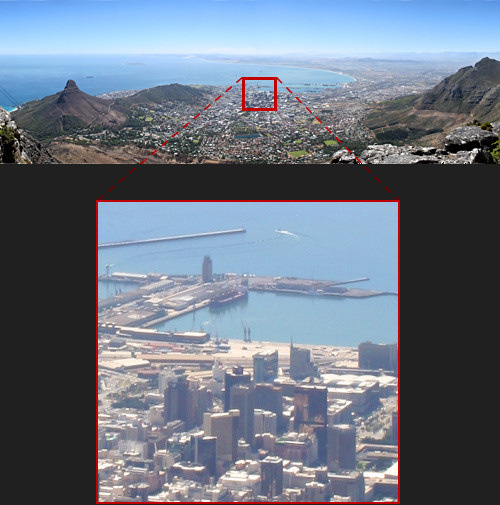
I also worked on a panorama of the Cape Town City Bowl, taken from Table Mountain, (17 photos at 8 megapixels, this time it produced a 37 megapixel image), which has stunning detail when zoomed in fully. I got that printed at 30″ x 6″ (the largest Photobox could print it), but would ideally like to get it printed to 100″ x 20″. I’ve shown a very low-res copy of it below, along with a full resolution crop of the downtown and waterfront area.
Well, I may as well add the rest of the panoramas in here as and when I stitch them together. This first one is of our first fine Capetonian sunset, from Signal Hill. The peaks are, from left to right: Devil’s Peak, Table Mountain and Lion’s Head. This panorama weighs in at hefty 55 megapixels.

Next panorama (25 megapixels): The Twelve Apostles and Camps Bay bathed in the golden light of Magic Hour – the last hour of sunlight. This was taken from La Med, where we often went to see some amazing sunsets.

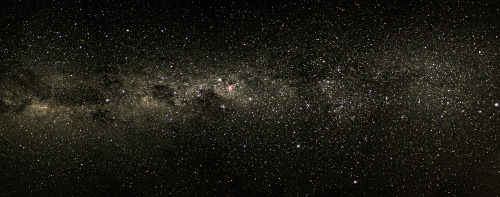
I had to define the control points of the next panorama manually, as the images were too dark for AutoPano to work with. 5 photos, each one a 30 second exposure at 1600 ISO, combined to create a 12 megapixel widescreen panorama of the Milky Way.
